April 29, 2017

Gored Gored: Ethiopian Spiced Raw Beef


I am a big fan of Ethiopian cuisine. Its richly layered seasonings can be searingly spicy or pleasantly warm, but are always complex flavours borne of a long, unique culinary heritage.

I also like raw beef dishes, generally: carpaccio, tartar, kitfo (another Ethiopian dish, as it happens) are all wonderful, but the intense seasoning and the richness of the butter lift gored gored into a class of its own.

While I've eaten gored gored many times in restaurants, when I decided to make it myself, I found very few recipes to work from, and even fewer in English. I set about watching cooking videos on YouTube and scouring cookbooks, but there didn't really seem to be a consensus on any sort of master recipe, so I've constructed my own based on the bits of information that I've uncovered, as well as hands on (quite literally) analysis through consumption of versions prepared by professionals. The dish is not always served raw - sometimes it is lightly seared - but I prefer it raw.

This was a full on Ethiopian meal, with the other dishes being shiro wat (recipe still under development), okra stew with onions and tomatoes, and of course, injera - that wonderful Ethiopian flatbread that serves as a literal foundation upon which the other dishes are served, as well as the utensil with which to eat them. My injera really, really needs more practice, but the gored gored turned out beautifully.


Berbere spice mixtures can often be purchased pre-mixed, but if you can't find it, there's a link in the recipe below.

Gored Gored

Serves 4 - 6 (as part of a multi-dish meal)

225 gram piece of high quality raw beef, suitable for tartar
3-4 tablespoons warm Ethiopian spiced butter (Nit'r Q'ibe) (I used a modified version of this recipe from Saveur: I added a teaspoon of Berbere seasoning)
1 (extra) teaspoon Berbere seasoning (I used this recipe from Epicurious) You'll also need this to make the Awase seasoning
3-4 tablespoons Awase seasoning (I used this recipe from Markus Samuelsson)

Once you've gotten all of the seasonings sorted out, this dish is extremely simple. On your extremely clean cutting board, using a very sharp knife, cut the meat into small cubes. I cut mine very small, for the best spice-penetration, but it's normal to cut them a bit larger than this.

In a small serving bowl, add the Awase and the extra Berbere seasoning, and stir well to thoroughly coat all sides of each bit of meat. Add the warmed spiced butter, one tablespoon at a time, stirring completely through, until the meat has a glossy sheen.

You can keep any leftover gored gored until the next day, covered well in the fridge, and either sauté it for the next day (if you must), or warm it very gently over a low heat for a couple of minutes, stirring constantly, just until the butter loosens up and the meat approaches room temperature, and then swiftly plate to prevent it from cooking.

April 22, 2017

Pear and Arugula Salad with Pine Nuts & Pomegranate


Pears are one of my favourite fruits for flavour and texture. The fact they work so well in salads is a wonderful bonus.

The name of this salad was long enough already without mentioning the sherried walnut vinaigrette, but I really do think that's the element that really ties it together. It's quite fragrant, and the saltiness and hint of garlic and mustard nicely offset the sweetness of the fruit.

This recipe was developed to use what I had on hand, and I'm so happy with the result that it's now on my favourite salads list. If you have some pomegranate seeds leftover from making Harak Osba'o, this is a good thing to do with them.

Pear and Arugula Salad with Pine Nuts & Pomegranate Seeds

Serves 2

100 grams arugula, washed and dried well
1 Bartlett pear, cored and sliced
2-3 tablespoons toasted pine nuts
2-3 tablespoons pomegranate seeds
Sherried Vinaigrette Dressing (see below)

You can clean the arugula, toast the pine nuts and prepare the pomegranate seeds in advance, but the slicing the pear is best left until just before serving.

To toast the pine nuts, I use a small dry skillet over low heat, shaking gently from time to time, until the kernels turn slightly golden and you can smell the toastiness. Remove from heat and immediately transfer to a small bowl to let them cool without risking burnt nuts.

I like to slice the pear in half, and then use a melon-baller to remove the core. Then, a couple of quick v-cuts with a sharp knife to remove the blossom-end and the tough stem-thread. Then you can easily slice into very tidy and elegant strips.

It makes sense to have the arugula on the bottom, but otherwise arrange however you like on a small plate or salad bowl. Spoon the dressing over just before serving. If you're making this for a crowd, and have one of those long, trencher-style serving plates, this would look very elegant served that way, too.


Sherried Walnut Vinaigrette

Serves 2

1 tablespoon walnut oil
2 teaspoons dry sherry
1 tablespoon Condimento Bianco (or white wine vinegar with a pinch of sugar)
1 small clove garlic, crushed
1/4 teaspoon Dijon mustard
pinch salt

In a small bowl (or small plastic cup with a securely sealing lid), combine all of the ingredients. Whisk well (or shake vigorously, holding the cup tightly closed) until emulsified into a pretty pale yellow. Taste, and adjust for salt (or more sherry!) as needed. Drizzle over salad just before serving.

I note that you can use sherry vinegar, if you're lucky enough to have some on hand, instead of the sherry and condimento listed above.

April 15, 2017

Harak Osba'o -- Damascus-style Lentil Noodle Stew


Lentils and rice are such a natural and common combination, that it's almost odd to think of them apart, let alone with an interloper. Lentils and pasta? You don't see them together all that often, outside certain soups (such as Harira), and the occasional vegetarian adaptation. However, the textures are surprisingly complementary, and these lentils definitely hold their own as a rightful ingredient that isn't a substitute for ground meat.

The name "Harak Osba'o" translates to "He burned his finger" suggesting an overeager cook who couldn't wait to tuck into an irresistible creation. The pomegranate molasses and tamarind concentrate give an enticing mild tanginess.

This version is adapted from a few different online versions, including one from The Food Obsessive and one from Taste of Beirut.

The garnish of cilantro and pomegranate seeds give a lovely burst of tart freshness to each bite.

Harak Osba'o
Damascus-style Lentil Noodle Stew

Serves 4

1 cup (200 grams) dried brown or green lentils, washed and drained
150 grams long pasta, broken into short lengths
2 medium yellow onions, diced
4 cloves garlic, minced or crushed
1 tablespoon olive oil
1 cup cilantro leaves, roughly chopped, plus more for garnish
3 cups vegetable broth or water
1 tablespoon pomegranate molasses
1 teaspoon tamarind concentrate
1/2 teaspoon coarse salt (more if using water instead of broth)
1 teaspoon ground black pepper
1/8 teaspoon ground cinnamon
1/8 teaspoon ground nutmeg
1/4 teaspoon ground allspice
1/4 teaspoon ground cardamon
1/4 teaspoon ground cumin
1/4 cup pomegranate seeds to garnish (optional)
Ground sumac to garnish
Extra hot water (eg. from a recently boiled kettle) as needed (1 to 2 cups)

In a soup pot, fry the onion in olive oil over medium heat until softened and a little browned, about 10 minutes, then add the cilantro and garlic and fry a further few seconds, while stirring. Spoon out half of the onion-garlic-cilantro mixture into a small bowl and set aside to use as garnish at the end.

Add the lentils to the remaining onion-garlic-cilantro mixture, and add the water (preferably hot, from a recently boiled kettle, but cold is fine, it will just take longer to come up to a simmer). Add the salt. Salt won't make the lentils hard, but adding it now will help them keep from falling apart. Simmer the lentils on low until tender, 15 - 30 minutes, depending on the type, so watch them carefully!

Add the tamarind and pomegranate molasses and stir through. Add the pasta. You can use broken long pasta or short pasta such as small shells. There needs to be enough liquid for the pasta to absorb, resulting in a thick stew once the pasta has finished cooking, so you'll probably need to add a bit more water - start with about a cup - and then add the black pepper and other spices and stir them through.

Simmer, uncovered, stirring occasionally, for about 15 minutes, or until the pasta is tender and the mixture is no longer watery. Keep an eye on the amount of liquid, and if it's getting too thick, add more water, a little at a time. Taste, and adjust seasoning if necessary.

Turn out into a large serving bowl or tureen, and garnish with the remaining onion-garlic-cilantro mixture and sprinkled with sumac (or, individual serving bowls, topped with the onion-garlic-cilantro mixture, and sumac). Fresh pomegranate seeds are also a nice garnish, if available, offering colour, texture, and juicy freshness.

If you don't have tamarind or pomegranate molasses? Try lemon juice or a little apple cider vinegar to bring the tanginess to the party. The simplest versions that I found call only for black pepper instead of the mix of spices, so you can do it that way, too, if you're so inclined. There are probably as many variations as there are cooks.

April 08, 2017

Arancini: Italian Rice Balls


Arancini means "little oranges", and you can find them in many parts of Italy, often as a bar snack. They can be served hot, or at room temperature. It is a way of upcycling leftover risotto into a dish that feels wholly different, while still packing all the same satisfaction. These arancini were made using leftover Risotto alla Milanese, and filled with fresh buffalo Mozzarella. You can make this with pretty much any leftover risotto, although if there are any large featured ingredients, you will want to remove them and either dice them finely and add them back into the rice, or add them to the filling. You can use any melty cheese you have on hand.

I don't deep fry things very often, partly due to the mess, partly due to general anxiety about deep frying, but I'll make an exception for these. As a killer bonus, once these are made, you can reheat them for 15 minutes in a very hot oven a day later with no loss of quality! Can you say...party food? Look at this one -- it's a day old, reheated, and is still fantastic:


Added bonus: you can make them any size you like.

Arancini

About 6 large or 12-14 small

About 3 cups leftover risotto, such as Risotto alla Milanese
1 egg, beaten
100 grams fresh Mozzarella, such as buffalo
About a cup of panko or other dried breadcrumbs
Oil for deep frying

While the oil heats to 175°C / 370°F, loosen the risotto gently with a fork. Add the beaten egg, and stir very gently to thoroughly combine. Turn the mass of risotto out onto a cutting board, and divide into the number of arancini you want to make. I've made 6 larger ones and one smaller one. Dice the mozzarella (or other melting cheese, such as Provolone or Fontina, for example) into at least the same number of arancini you are making. Don't make the cheese cubes too huge, or you'll have trouble closing the rice around them.

Set a clean cutting board or plate as a receiving plate for the completed arancini. Then, pick up the risotto for the first ball, and flatten it in your hands into a rough disc. Place a piece of mozzarella (or two, if you find you've chopped them quite small) in the centre of the disc, and curl your fingers up to start to enclose it. Get your other hand in there to help close the rice completely around the cheese, and shape into a nice round ball. Roll the ball in the breadcrumbs. Set aside on the receiving plate, and repeat until all of the rice has been formed into arancini.


Wash your hands, which will be sticky and coated with egg/risotto goo. Prepare a receiving plate for the fried arancini by lining it with a few paper towels.

When the oil is ready for frying, lower one arancino (singular) into the oil, using a mesh skimmer or spider. Let it cook for about a minute before adding another. Do not have more than four of the larger ones in the pot at the time, or the temperature of the oil will drop too far, and the arancini will not fry as nicely. Let each arancino cook for about five or six minutes, turning them from time to time, and then retrieve from the oil with your spider, and place on the paper towel-lined plate. They should be golden-y, orange-y brown and incredibly tempting. Repeat until all the arancini are cooked, and then serve and devour.


Arancini are often served with a dipping sauce - often a simple basil and tomato pasta-type sauce, but these ones are so creamy they don't strictly need it.

I served these with a lentil soup made from the leftover braised beef shanks that had accompanied the original risotto.

April 01, 2017

Risotto alla Milanese


Risotto (alla) Milanese, also sometimes called Risotto Giallo Zafferano, is a luxurious dish. It is not cheap to make, nor is it vegetarian; alongside its famously expensive saffron, the other signature ingredients include bone marrow and meat stock. The risotto kits that one can find on supermarket shelves tend to include only the merest whisper of saffron (if at all) and rely on turmeric or other colorants for the vivid yellow colour. They may make a serviceable side dish of sorts, but you would be in for a disappointment if you expected it to live up to the magic of a traditional Risotto alla Milanese.

I've made saffron rice dishes before, and while I've always enjoyed the flavour, I'd never achieved the deep, dark golden hue that is one of the signatures of this, one of the most famous Italian dishes. It turns out, it very much matters no only what kind of saffron one uses, but also how fresh it is. After recently making a saffron risotto that was underwhelming in colour, texture, and flavour, I decided to set aside what I've learned making other risottos, and learn how to do this one in all of its traditional glory.

I had used up the last of my good Persian saffron in the previous batch. While that saffron was indeed top quality when I received it, I had been eking it out over a few years, and gradually the remaining strands had greatly diminished in both their pungency and the amount of colour they provided. So I bought a new tiny tube of beautiful, dark red threads, and used them generously. Note that not all saffron is created equal. Don't be deceived by "safflower saffron", Carthamus tinctorius AKA "American saffron" or "Mexican saffron" or even "Dyer's saffron" (it has colour, but no flavour). It's not even from the same type of plant as true saffron. The one you want is Crocus sativus.

One departure from other risottos that I've made is that this one has you boil the onions in wine before adding the rice. This made the onions virtually disappear into the dish, adding a depth of texture to the sauciness of the dish. I note that Claudia Roden's other The Food of Italy (so, not the region-by-region version from which the below recipe is adapted) has a slightly different recipe given for Risotto alla Milanese, with slightly different proportions of some ingredients and, more importantly, with the wine added after the rice, following the more classic risotto-building method. Undecided at first, I eventually chose to go with the unusual version, which turned out to be nothing short of glorious.

Risotto alla Milanese

Adapted from Claudia Roden's The Food of Italy: Region by Region

Serves 4

300 grams rice for risotto - eg. Arborio, Carnaroli, Vialone Nano
30 grams butter
30 grams beef or veal bone marrow
1 litre (4 cups) beef or veal stock, warm
125 mL dry white wine or dry white Vermouth
1 small onion, finely chopped
1/2 teaspoon coarse sea salt (only if your stock is not too salty)
60 grams freshly grated Parmigiano Reggiano cheese
3/4 teaspoon saffron threads
50 mL hot water (from a recently boiled kettle)

As always, risotto is best (and the cook less harried) when the mise en place, the advance preparation of all necessary ingredients, is done before actually starting to cook.

Risotto needs near constant attention, but it does not require continuous stirring, no matter what you might hear. A stir once per minute will suffice. If you overstir, especially if you are making a drier, non-soupy style, your rice will be half way to congee by the time you've added all your stock. So: stir frequently, and gently, but not continuously.

Chop your onion very finely (try to match the size of a grain of rice), grate your Parmesan, warm the stock in a small pot on the stove, and prepare the saffron infusion: in a small mug or measuring cup, pour the 50 mL hot water from a recently boiled kettle, and crush the saffron over it, letting the dark red dust fall into the hot water. You can crush the saffron with a spoon, a mortar and pestle, or simply use your fingertips. Let the saffron steep in the hot water, which will gradually turn bright yellow.

Melt the bone marrow in a medium-sized saucepan over medium heat. When it has all melted, add half the butter (a tablespoon) and let that melt, too. Next, add your very finely chopped onion, and let it sauté for a few minutes, and then add the white wine. I used dry Vermouth for the wine, which is my usual risotto practice, but you could also use a nice Pinot Grigio or Soave. Let the wine boil almost dry, until the mixture of fat, onions, and wine looks syrupy, and then add the rice. Stir the rice around well, to coat each of the grains with the viscous liquid. Stir in the salt.

Add a ladle of stock to the rice, and give it a few stirs. Let it simmer, lid off, until much of the liquid has evaporated, and then give it another stir, and another ladle of stock. Stir again, and let it be for a minute. Repeat this process, stirring about once per minute or as needed (if you need to stir more often, turn the heat down), until half of your stock is gone, about 12 - 15 minutes in. You may stir more than once between each addition, of course.

When half of your stock has gone in, add the saffron and its steeping liquid and stir it through, marvelling at the abrupt change of colour, and intense fragrance! I like to add a bit of stock to the emptied saffron cup, and swirl it about to make sure I get every last speck of saffron into the risotto. Continue with the stirring and the adding of stock as before, until all of the stock has been added and mostly absorbed, and the grains of rice are just on the verge of being tender. Turn off the heat, and stir in the remaining tablespoon of butter and the parmesan cheese. Partially cover with a cocked-lid and let it stand for a few minutes while you plate any other elements of your dinner (in case of the above, braised beef shank and cauliflower mornay), and then spoon the risotto onto the plate last. If you like a very wet style of risotto, you may wish to use a shallow bowl to serve, instead.


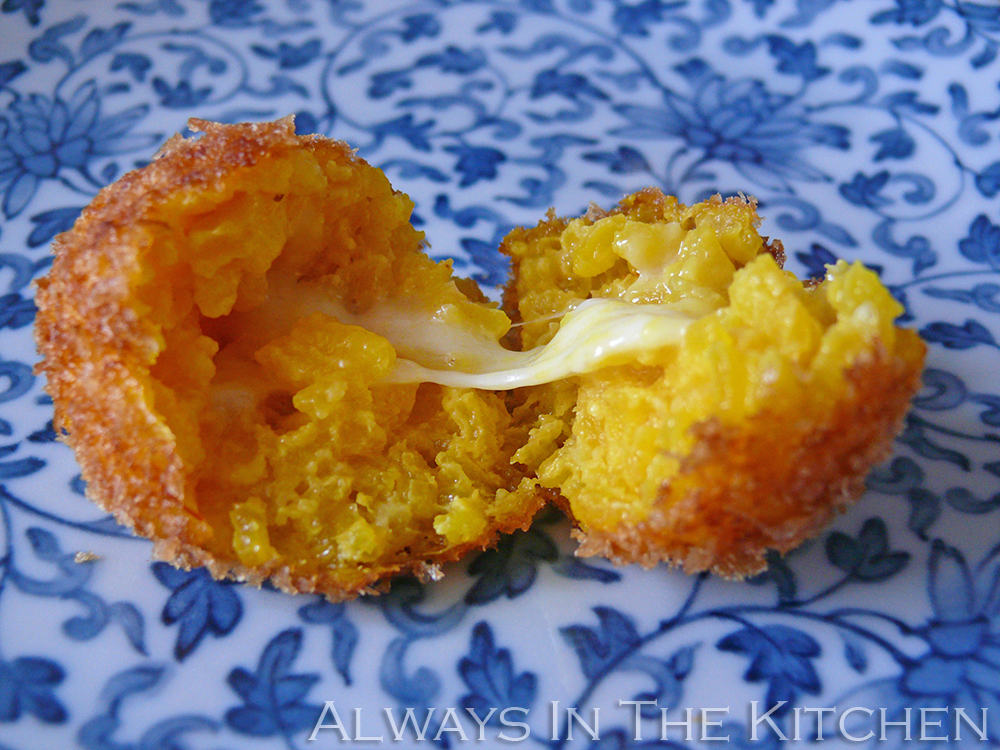
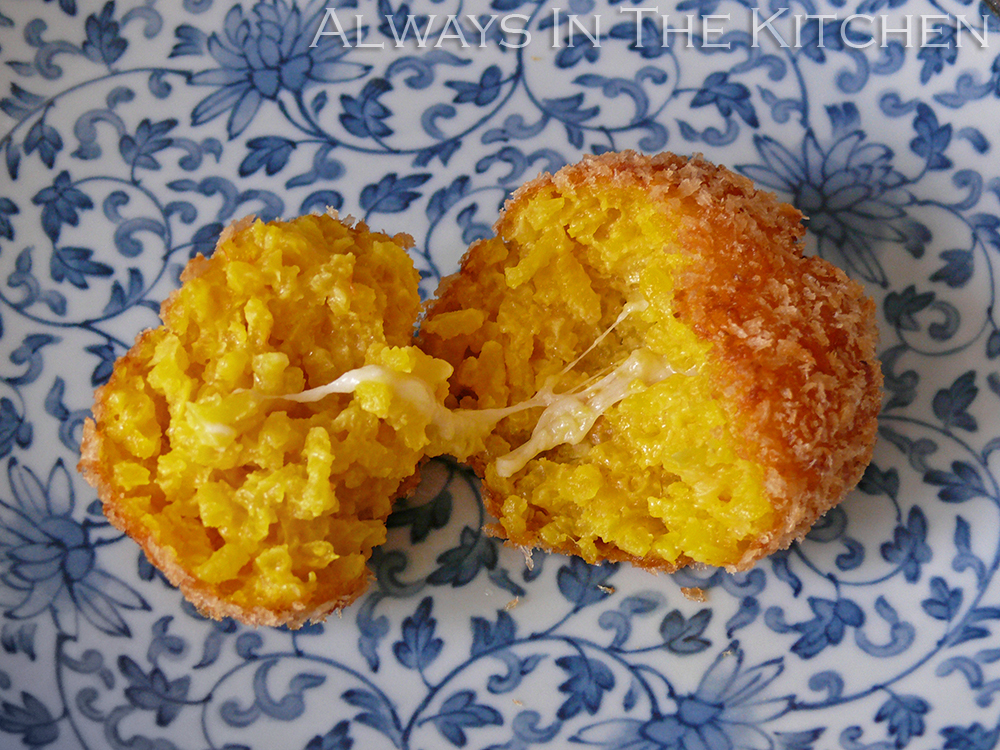
Should you be lucky enough to have any leftover, they make wonderful arancini (Italian rice balls). Coincidentally (cough cough), that is next week's recipe. Stay tuned!


Freezer Burritos (and website news)


Well, it looks like my older website for Always In The Kitchen has finally expired and been taken offline. Don't worry, this blog is still active, and I still have all of the recipes, so I'll begin adding them to the comments sections of various blog posts that formerly just contained the links.

In the meantime, if you find any dead links where the recipe has not yet been added into the comments at the bottom, please let me know. I plan to add all of them, but it could take a while, and any of the older recipes that didn't have a link on the blog will be getting a whole new blog post, like this one.

Freezer Burritos

These are a delicious make-ahead worthy of taking up space in your freezer, ready to be a tasty packed lunch or emergency dinner. The inclusion of rice makes them technically "Mission-style" but, as discussed below, these are highly customizable.

Total prep and cooking time: 45 minutes more or less, depending on how fast you are at filling and rolling.

1 cup (200 grams) uncooked rice
1 (425 gram) can* black beans
1 (525 gram) can* pinto or kidney beans
1 cup (250 mL) frozen corn kernels, rinsed in warm water, drained
1 cup (250 mL) jarred salsa
10 (12 inch) flour tortillas (make sure they’re flexible - warm them if necessary to make rolling easier)
250 grams Pepper Jack cheese, shredded (or cheddar)
2 tablespoons Tabasco sauce, or hot sauce of your choice
1 tablespoon ground chile powder
1 teaspoon ground cumin
1 teaspoon dried oregano leaves
1 cup chopped fresh cilantro (use parsley or green onions if you're cilantro-phobic)
1-2 minced jalapeño peppers

*Please note that the can-sizes are approximate, based on what was available in my area at the time this recipe was being developed. If your cans are a bit smaller or a bit larger, it will be fine.

Cook the rice in your usual fashion, adding some Mexican or Southwest Seasoning or extra chile powder (1 teaspoon, approximately) into the water. Allow to cool somewhat while you prepare the rest. Drain and rinse beans and corn. Add salsa, and toss to mix. Transfer to a large bowl, and mix in the rice and cheese and seasonings (spices, cilantro, and peppers). Mix very thoroughly. Taste and see if you need to add more spices or hot sauce. Divide the mixture evenly among the tortillas, and roll up. Wrap individually in plastic wrap, place into a large freezer bag, and freeze. Reheat covered, but unwrapped, in the microwave on high for about 3 minutes. Liberally apply extra hot sauce, such as Cholula (ie. a thicker sauce, rather than a thin one like Tabasco or Louisiana).

I usually plan to have these for dinner on the day that I make a batch. Instead of microwaving them, I spritz them lightly with canola oil and bake them on a cookie sheet, in a 400 F oven, or until the edges are crispy and golden. You can also pan-fry them in a bit of canola or peanut oil, using tongs to rotate them for even browning.

For a non-vegetarian version, substitute one of the cans of beans with ½ pound cooked ground beef (season well, and drain off any fat) or ground chicken or turkey for a leaner meaty version. It’s slightly more work, but very tasty.

I usually get 10 (sometimes more) burritos, depending on how big the tortillas are, how much I've tinkered with the filling, and how much of the filling I've eaten while rolling up the burritos.

These are of course highly customizable - just keep an eye on the volume of filling you're making. I've been known to add minced bell pepper, Mexican pickled onions (chopped), leftover mole sauce, leftover roast chicken, (I divide the shredded roast chicken between each burrito rather than mixing it into the filling). Leftover pulled pork would of course also work very nicely. I'm thinking right now that black bean and roasted butternut squash would be an excellent plant-based variation.